Amigurumeme should be a thing. It means amigurumi of a meme, get it?
Anyway I was loving the Grumpy cat amigurumi by Van Vuong on Ravelry a few years ago but didn’t get round to doing it as I was busy inventing other patterns to make. Recently I came across the “This is fine” plush dog kickstarter and a light bulb went on my head.
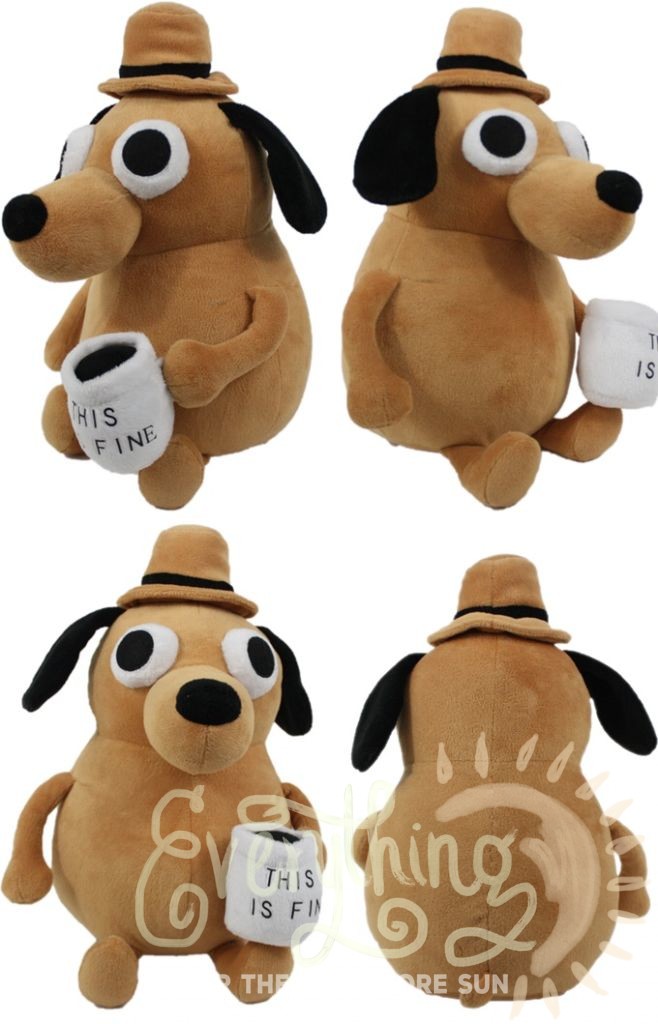
The plush toy was based on the viral meme:

So it is my pet project to make an amigurumi out of this meme because this is what we need during these uncertain times. It took really long for me to come up with this pattern, as with all the other patterns, it is always rewarding to see the final result.
Here is the free amigurumi pattern for the “This is fine” dog meme. Whether it is denial or optimism, remember, all is fine when you have a cup of coffee.
Coincidentally, my daughter saw me doing this dog and she was asking if I am doing it because it was the Year of the Dog. I had not even thought of that! Children do say the darnest things huh?
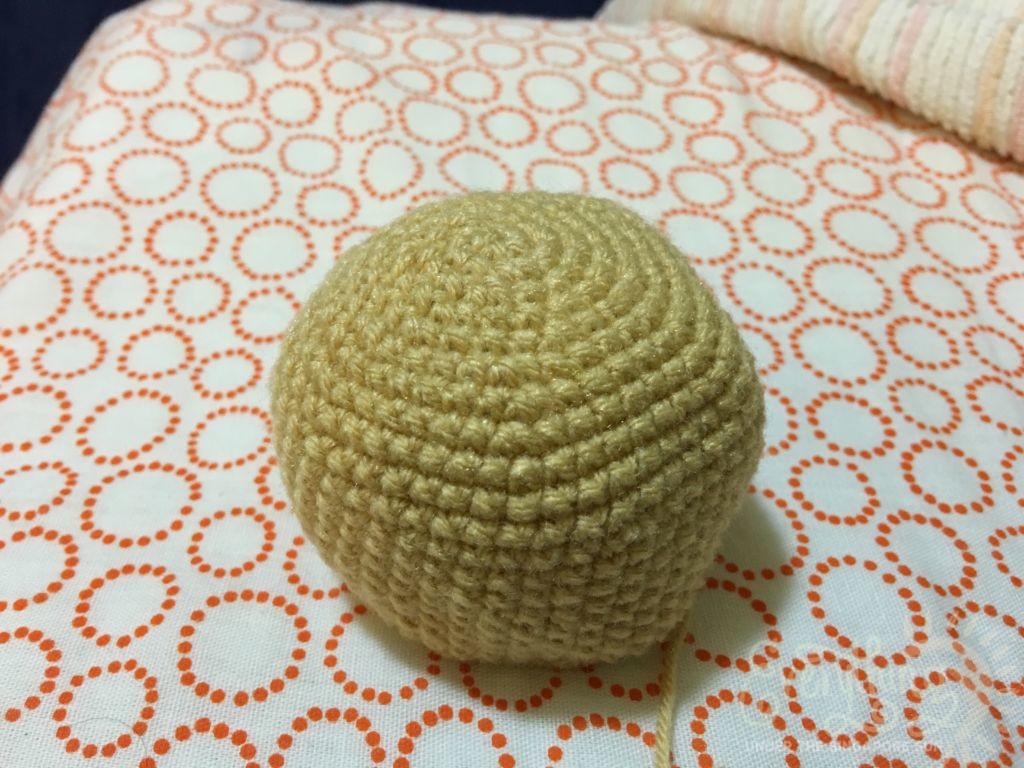
Head
1. 6sc in a magic ring in light brown yarn
2. 2sc x 6
3. [2sc, 1sc] x 6
4. [2sc, 1sc, 1sc] x 6
5. [2sc, 1sc, 1sc, 1sc] x 6
6. [2sc, 1sc, 1sc, 1sc, 1sc] x 6
7. [2sc, 1sc, 1sc, 1sc, 1sc, 1sc] x 6
8. [2sc, 1sc, 1sc, 1sc, 1sc, 1sc, 1sc] x 6
Rows 9-19: 1sc x 48
20. [1dec, 1sc, 1sc, 1sc, 1sc, 1sc, 1sc] x 6
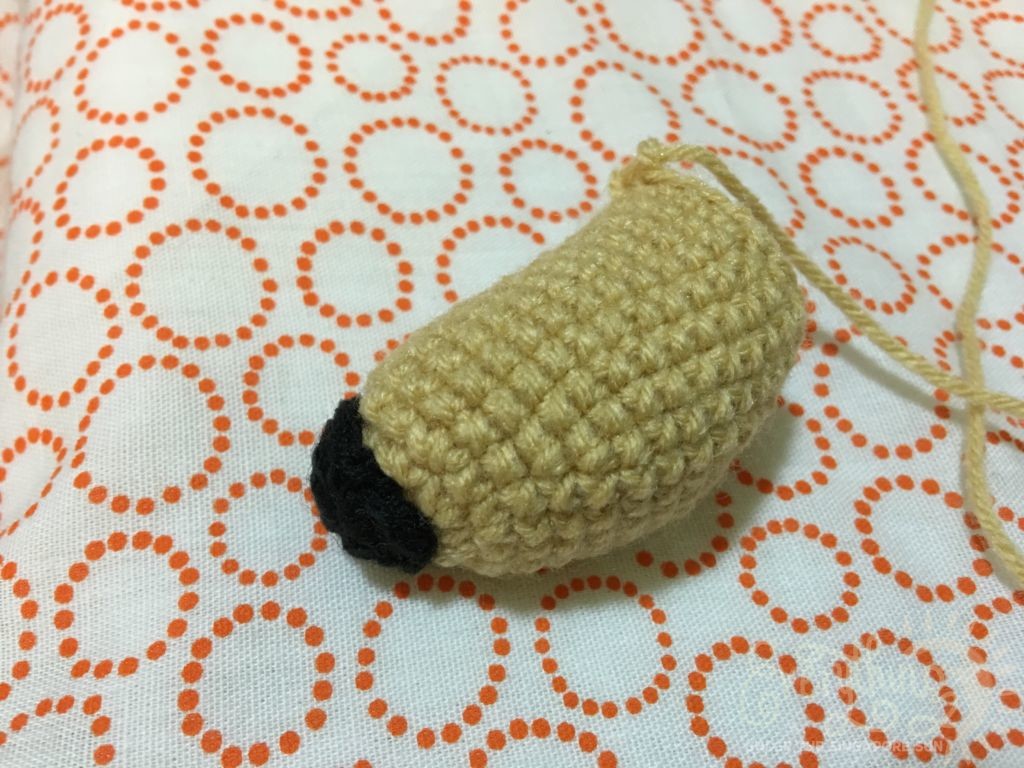
Nose/Snout
1. 6sc in a magic ring in light brown yarn
2. 2sc x 6
3. [2sc, 1sc] x 6
4. 1sc x 18
5. 1sc x 6, 2sc, 1sc x 2, 2sc, 1sc x 2, 2sc, 1sc x 5
6. 1sc x 6, 2sc, 1sc x 3, 2sc, 1sc x 3, 2sc, 1sc x 6
7. 1sc x 6, 2sc, 1sc x 4, 2sc, 1sc x 4, 2sc, 1sc x 6
Rows 8-9. 1sc x 26
10. 1dec, 1sc x 10, 1dec x2, 1sc x 10
Row 11-12: 1sc x 20
13. 1dec, 1sc x 6, 1dec, 1sc x 6, 1dec, 1sc x 2
Leave a long tail around 20cm. Now we do the tip of the snout.
- 6sc in a magic ring in black yarn
- 2sc x 6
- 1sc x 12
Attach to the tip of the nose. Don’t forget to stuff the nose!
Ears
1. 6sc in a magic ring in black yarn
2. 2sc x 6
3. [2sc, 1sc] x 6
Rows 4-7: 1sc x 18
5. 1dec, 1sc x 7, 1dec, 1sc x 7
6. 1sc x 17
7. 1dec, 1sc x 6, 1dec, 1sc x 6, 1dec
8. 1sc x 14
9. 1dec, 1sc x 5, 1dec, 1sc x 5
Rows 10-13: 1sc x 12
Make two and attach to sides of head.
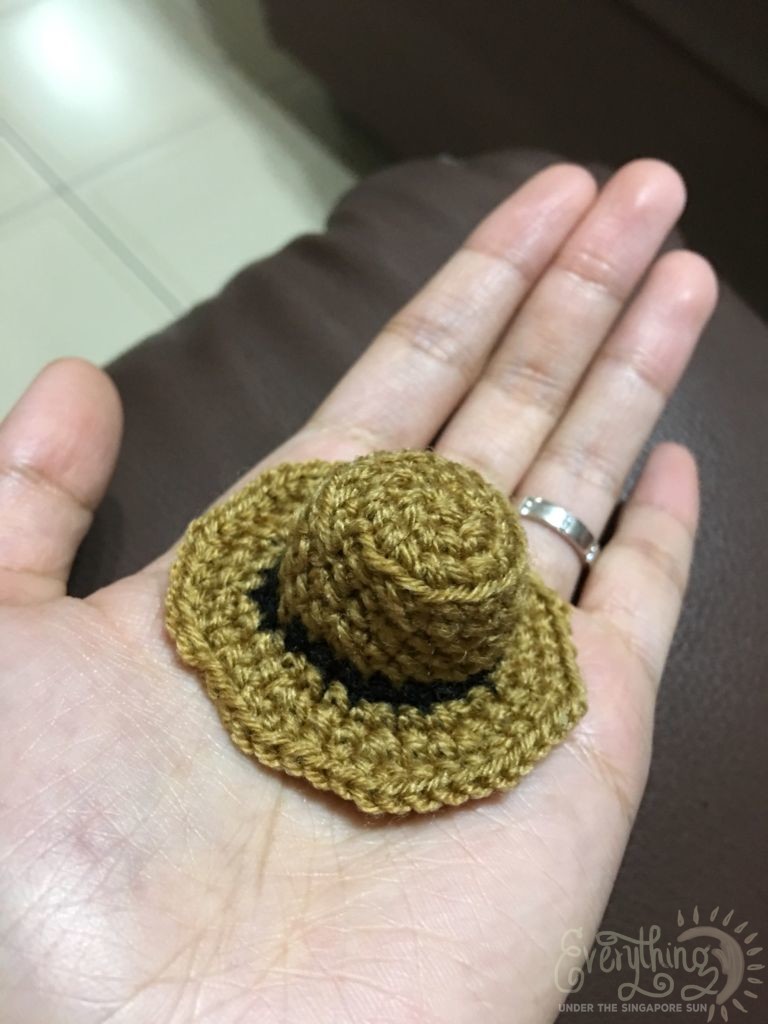
Hat
1. 6sc in a magic ring in light brown yarn
2. 2sc x 6
3. [2sc, 1sc] x 6
4. 1sc x 18 in the inside loop
5. 2sc, 1sc x 8, 2sc, 1sc x 8
Rows 6 & 7: 1sc x 20
8. Switch to black yarn in the outer loop: 1sc x 20
9.Switch back to light brown yarn, [1sc, 2sc] x 10
10. [1sc, 1sc, 2sc] x 10
11. [1sc, 1sc, 1sc, 2sc] x 10
In this case I didn’t leave a tail and just closed it up. You can put a little stuffing in hat before attaching to the head.
Eyes
1. Iris: 6sc in a magic ring in black
2. [2sc, 1sc] x 6
1. Sclera: 6sc in a magic ring in white
2. 2sc x 6
3. [2sc, 1sc] x 6
4. [2sc, 1sc, 1sc] x 6
5. [2sc, 1sc, 1sc, 1sc] x 6
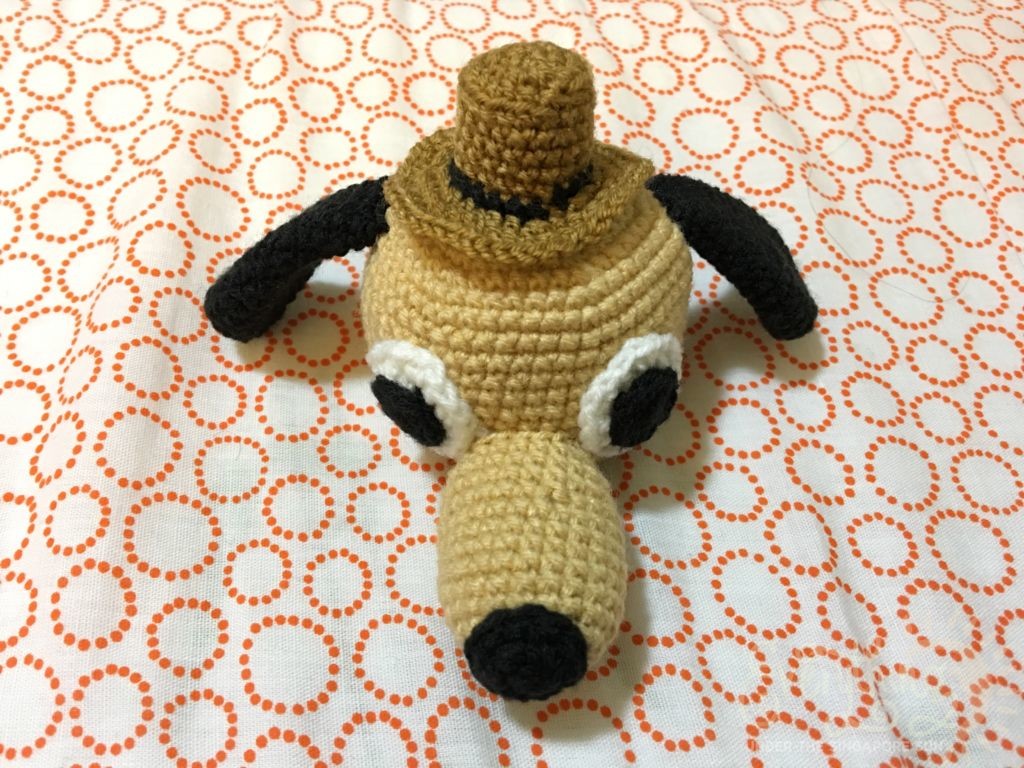
When you put it all together, it will look like this:
Body
1. 6sc in a magic ring in light brown yarn
2. 2sc x 6
3. [2sc, 1sc] x 6
4. [2sc, 1sc, 1sc] x 6
5. [2sc, 1sc, 1sc, 1sc] x 6
6. [2sc, 1sc, 1sc, 1sc, 1sc] x 6
7. [2sc, 1sc, 1sc, 1sc, 1sc, 1sc] x 6
8. [2sc, 1sc, 1sc, 1sc, 1sc, 1sc, 1sc] x 6
Rows 9-19: 1sc x 48
20: [1dec, 1sc, 1sc, 1sc, 1sc, 1sc, 1sc] x 6
21. 1sc x 42
Hands
1. 6sc in a magic ring in light brown yarn
2. 2sc x 6
3. 1sc x 12
4. [1dec, 1sc] x 4
Rows 5-15: 1sc x 8
Legs
1. 6sc in a magic ring in light brown yarn
2. 2sc x 6
3. [2sc, 1sc, 1sc] x 4
4. [1dec, 1sc, 1sc] x 4
5. 1dec, 1sc x 2, 1dec, 1sc x 6
Rows 6-10: 1sc x 10
Make two.
Tail
1. 6sc in a magic ring in light brown yarn
Rows 2-4: 1sc x 6
Rows 4-6: 2sc, 1sc x 2, 1dec, 1sc x 1
Once you have all the legs and arms and tail ready, attach all the pieces to the body. Stuff the body and connect to the head. Lastly, we shall work on the cup!
Cup
1. 6sc in a magic ring in white yarn
2. 2sc x 6
3. 1sc x 12 in outer loop
Rows 4-11: 1sc x 12
Leave a long tail.
Cup handle
1. 7sc in a chain
2. Turn, 1sc in both loops (6)
Attach the handle and stitch the words on.
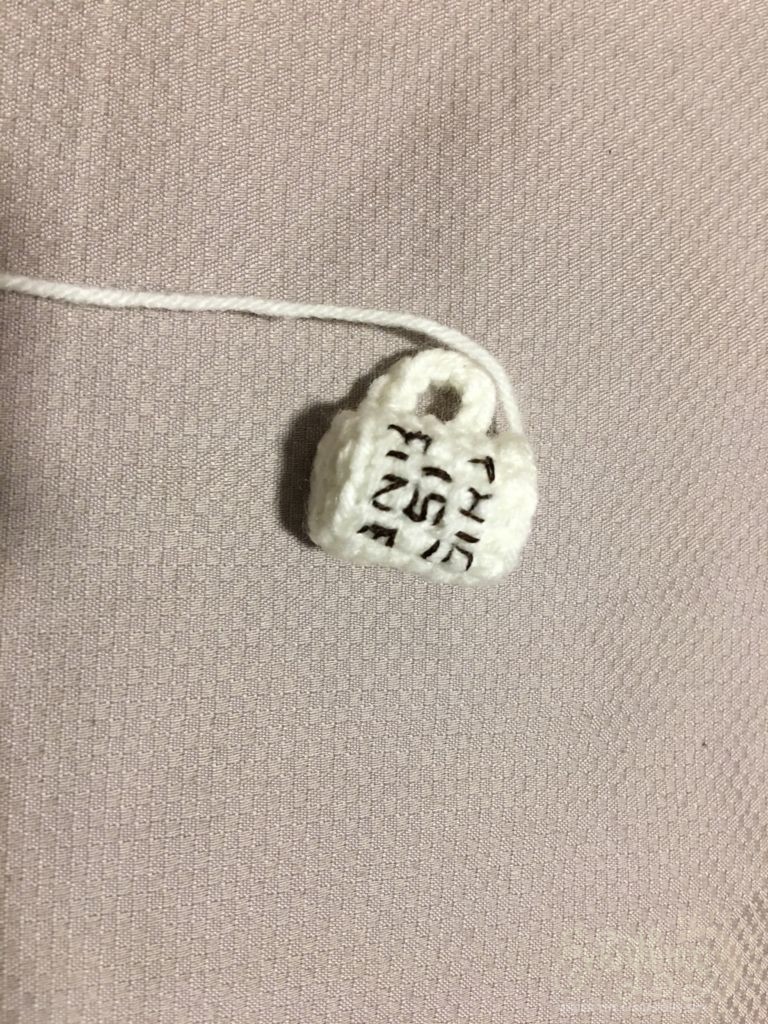
I tried my best! If you find that it is still not good enough, you can stitch the words on a white cloth or felt and stick it on the cup.
Coffee
1. 6sc in a magic ring in brown/coffee colored yarn
2. 2sc x 6
Remember you left a long tail on the cup? First stuff the cup with a little cotton and then use the tail to sew the little disc of coffee on top.
When the cup is done, just attach it to your dog’s paw/hand and it is done! For my dog, I also sew the arms to the body so they are closer to it rather than open outwards.
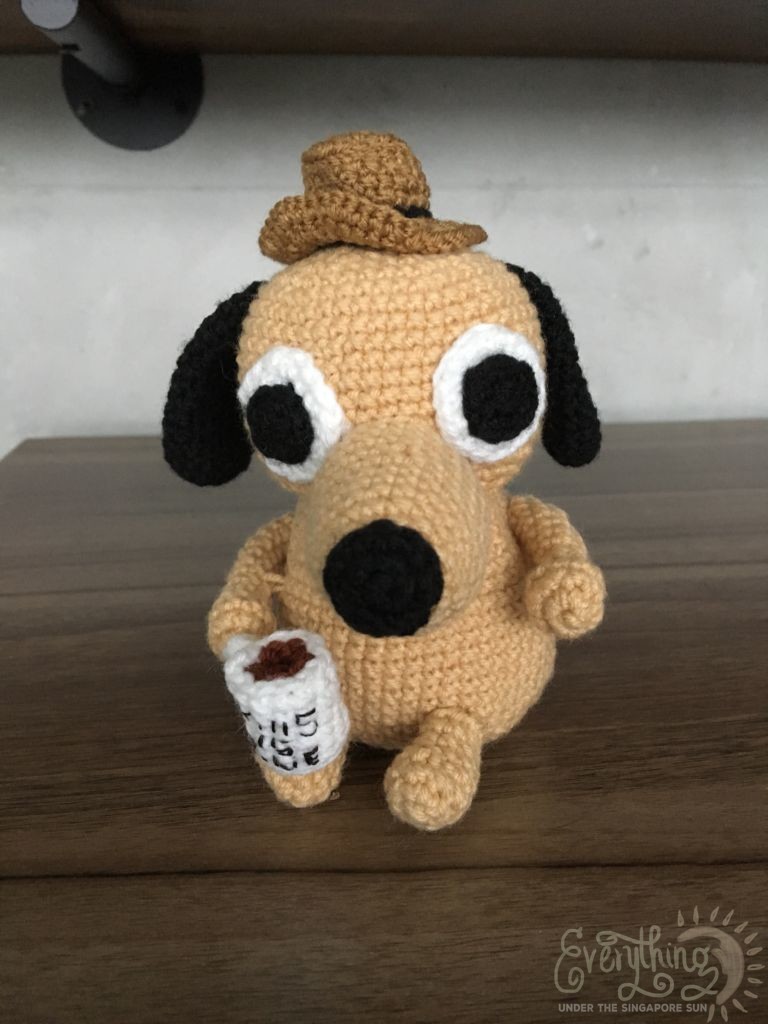
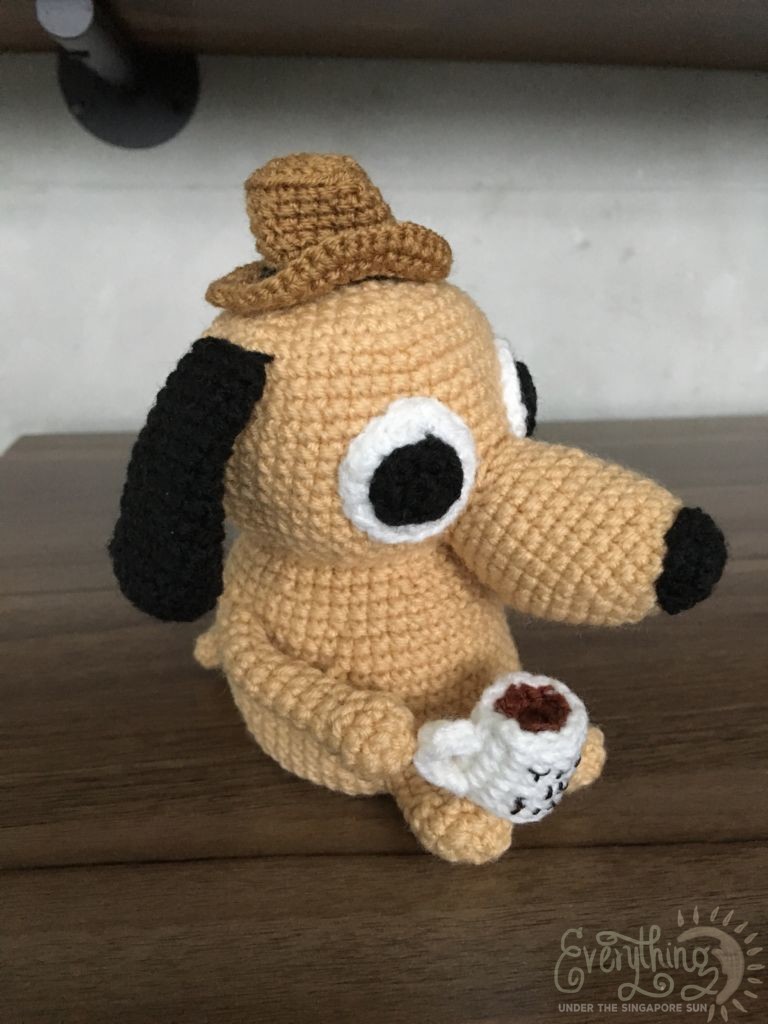
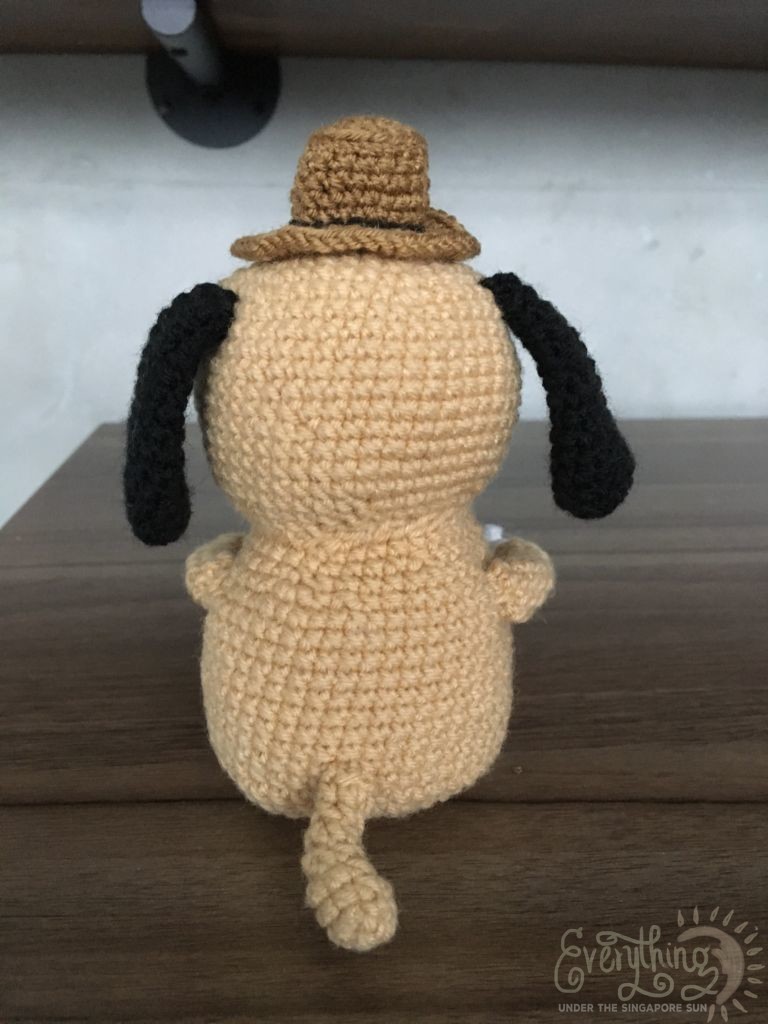
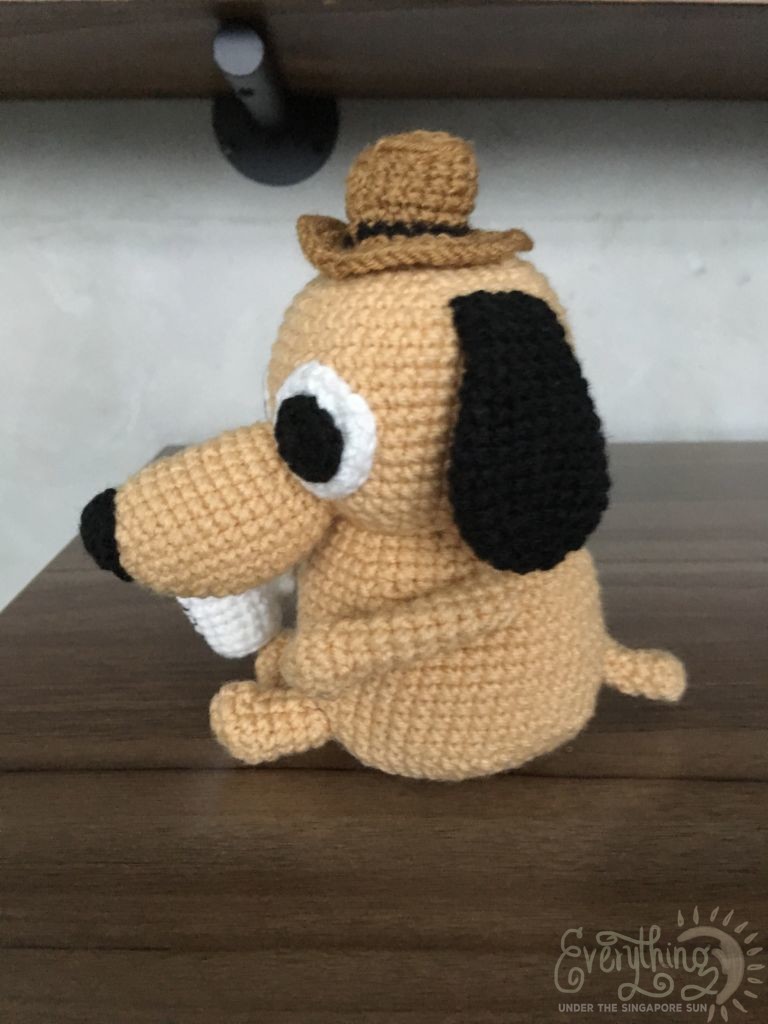
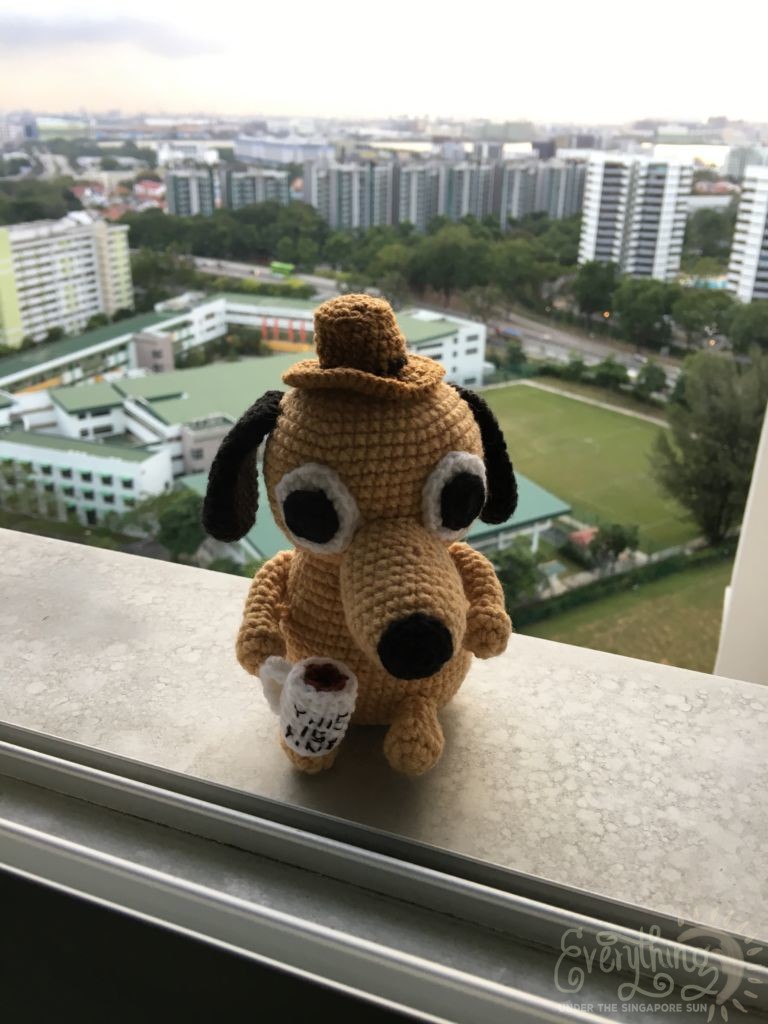
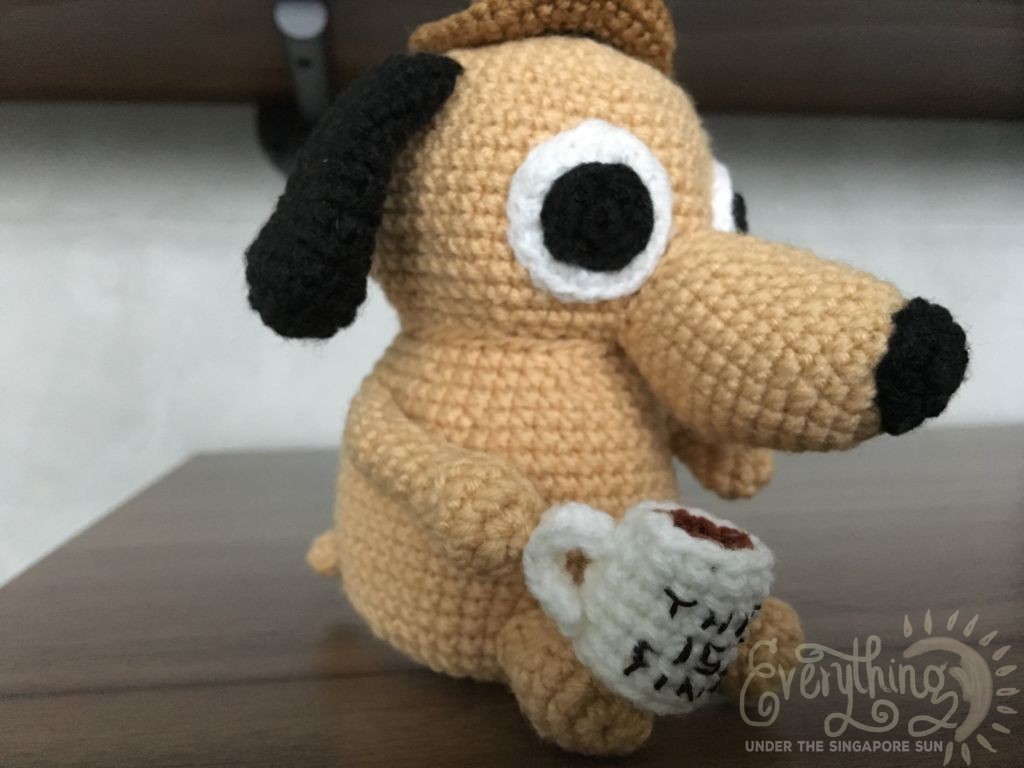

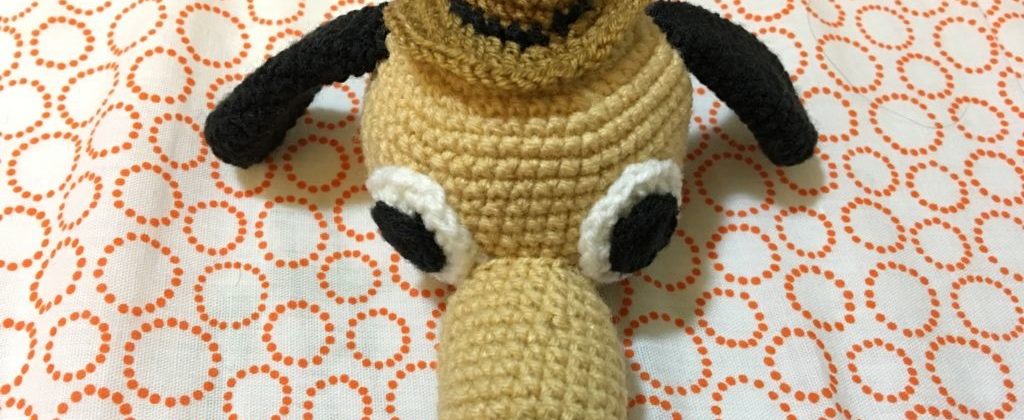


Just made this, thank you for the pattern!
Thank you for using this pattern! 🙂
A few questions. What size hook and weight of yarn do you use. What colors would you suggest?
Thank you so much for sharing this pattern! Making it for my cousins birthday because she absolutely adores this dog and meme!
Thank you for using my pattern! The yarn is 4-ply, and the hook size I use is 2.5mm. As for colors, I can’t recommend because I don’t think you have the same brand in the different countries so do use your eye to compare. Try to go for a lighter shade than you think you need because the stitches on the final product will make it look darker.
Hi, how do you attach the head to the body? The number of stitches do not correspond to each other.
Hi Sari, I have updated the head pattern. Thanks for letting me know!
Hi, just came across your pattern and I can’t wait to start!
Just a few questions: at the end of round 10 (1dec, 10sc, 2dec, 10sc) you have 23sc but in rounds 11-12 you only crochet 20sc?
Thanks!
Yes, 1dec means a decrease. 2dec is two decreases so you will end up with 20sc.
Hi, just found this pattern and I love it! Is it possible for me to make these for sale? (will credit of course!)
Yes feel free to sell your final product! Thanks for liking my pattern. I love him too.