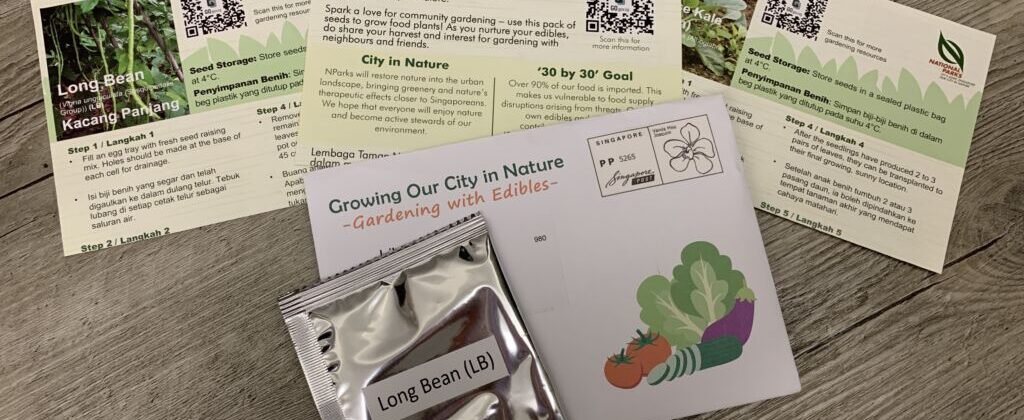
Singapore has embarked on a mission to encourage homes to grow at least 30% of their own food by the year 2030. As we all know, NParks has over 400,000 requests for the free seed packs and that means we have many potential homegrown farmers in our future!
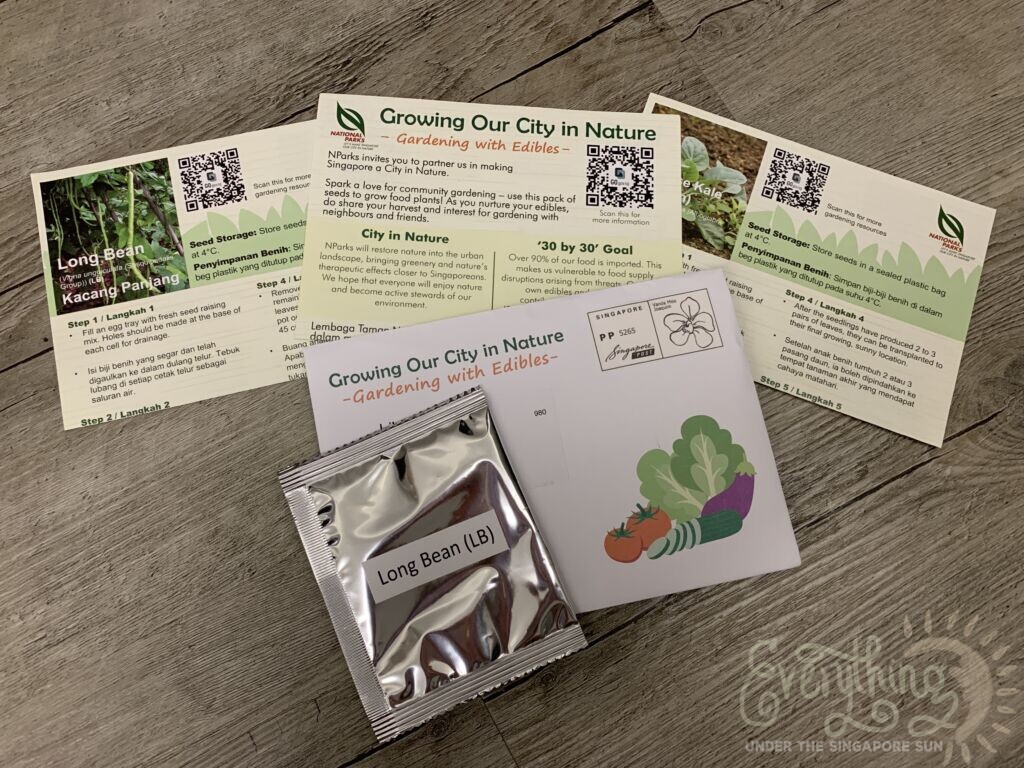
If you are like me, growing anything from seeds is very tough. Take it from me. I have serious black thumbs and can kill nearly all plants except for the hardiest and most stubborn like Fittonias and Money plant.
And that is not for lack of trying! We have tried increasing our odds of success with an DIY automatic solar-powered watering system and plenty of money spent on organic fertilisers. However, our greatest enemies are strong winds that comes with high level HDB living and lack of sunlight and space. (I live above the 20th floor.) There are also few pollinators that are brave enough or smart enough to take a lift up to where I live so anything flowering and fruiting has very little chance of success.
So why not vegetables? After tons of research, and not wanting to spend hundreds of dollars on a full hydroponics setup, we decided to try a smaller simpler aeroponics system instead. To clarify, the setup is simple but it requires some technical skills and electrical knowledge on how to solder, and drill. So it is a not a simple project to embark and not for everyone!
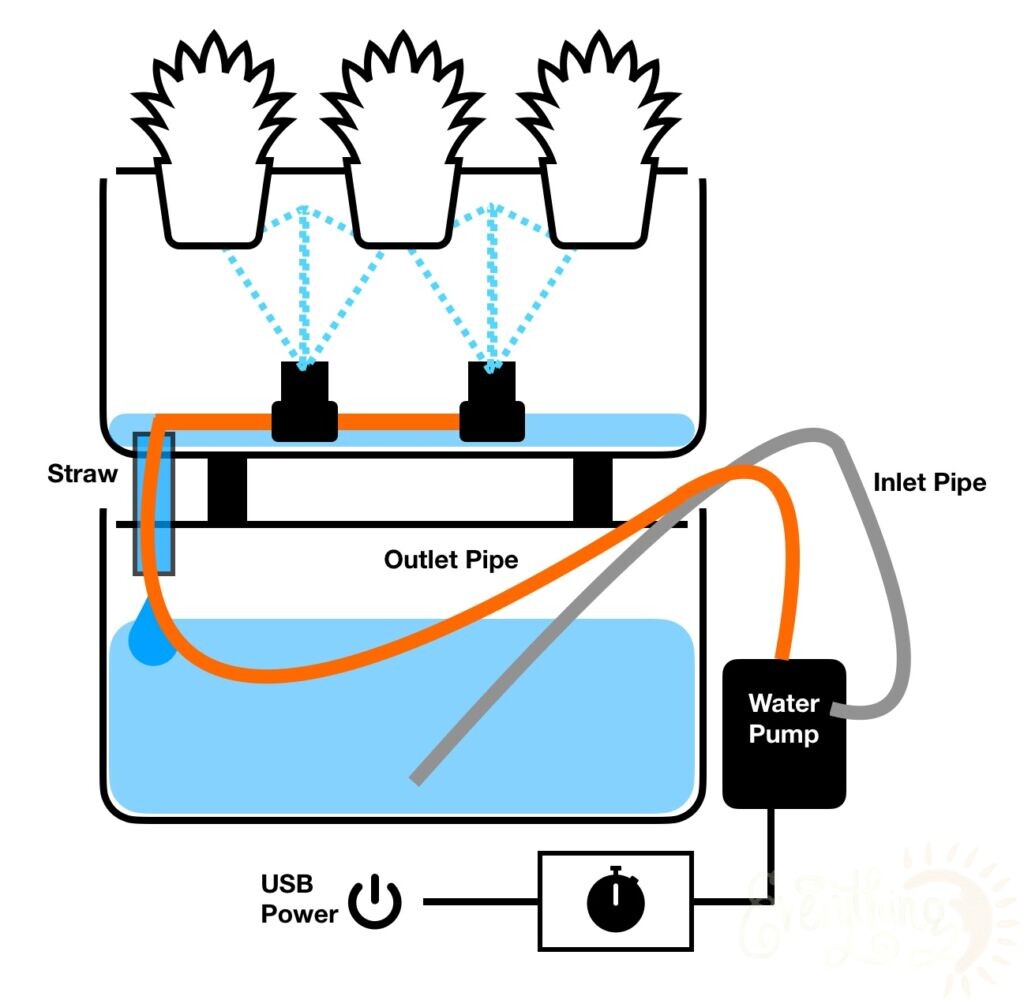
This aeroponics system is set up to spray for 3 mins for every 15 mins using USB power. However it is programmable with the timer module for as often as you like. Most importantly, the roots have to be thoroughly drenched and yet have time to drip dry before the next watering. The water is recycled using gravity and pumped back onto the roots and therefore you only need to change out the water every 2 weeks or so.
Materials
- Two plastic boxes around 23cm length x 17cm width x 10cm height, preferably food-grade and opaque.
- Black or dark waterproof paint or duct tape (if your boxes are not opaque)
- A water pump
- A tube about 60cm long
- Two spray nozzles
- One bubble tea straw, cut into 3
- Super glue or 2-part epoxy
- Thick high Bumpons (optional, read below.)
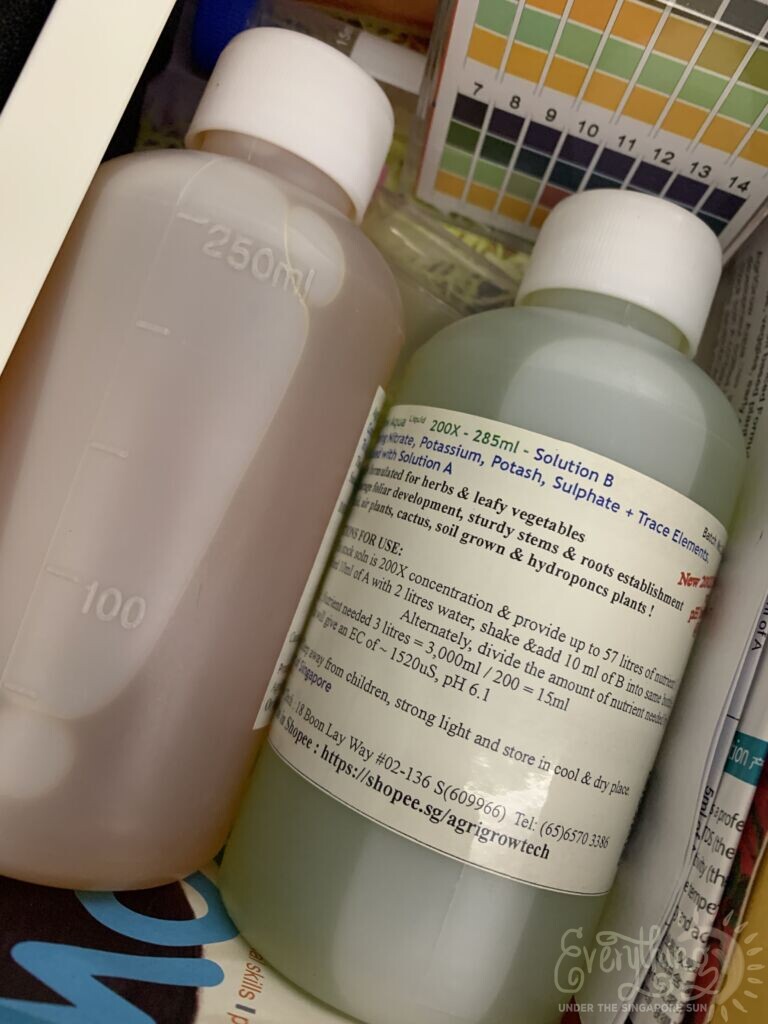
- Nutrients (for Hydroponics and Aeroponics)
- 6 plant baskets
- 6 plant sponges
- Grow light (Optional, for indoor growing)
- Timer module (to control spraying intervals)
- Wires
- USB connector
Tools Needed
- Drill with normal drill bits and circular drill bits.
- Penknife and scissors
- Soldering iron
First of all, I got my boxes from Daiso so they are very cheap but we had to cover it up with tape and paint. Light will encourage growth of algae and pathogens in the water so we don’t want that to enter our water and plant roots. Wash your boxes well with dish washing detergent.
Step 1: Drill 6 large holes into the cover of one of the containers (top container) for the plant baskets.

Step 2: Drill 3 holes about the diameter of the bubble tea straw on one end of the top container’s base and, in the same spot, on the lid of the bottom container. The bubble tea straw should be super glued to the bottom of the top container and go through the lid of the bottom container. Basically the straw acts like a path for the water to flow from the top container into the bottom container. Drill another small hole into the lid of the bottom container so that the tube can come out to the pump.
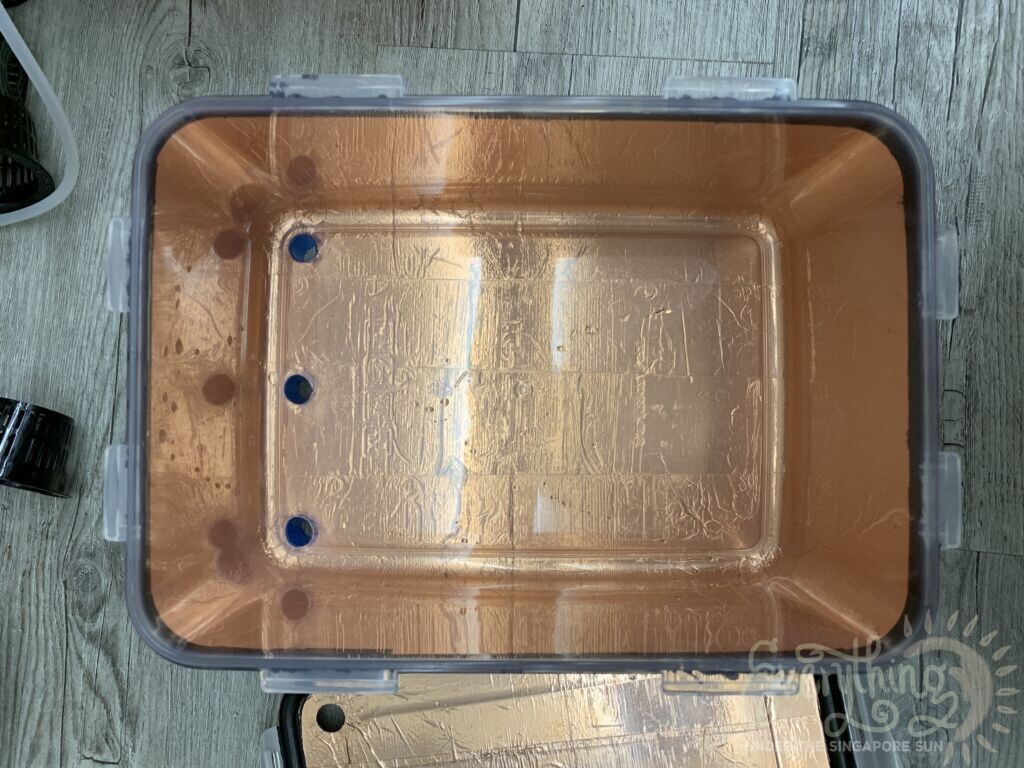
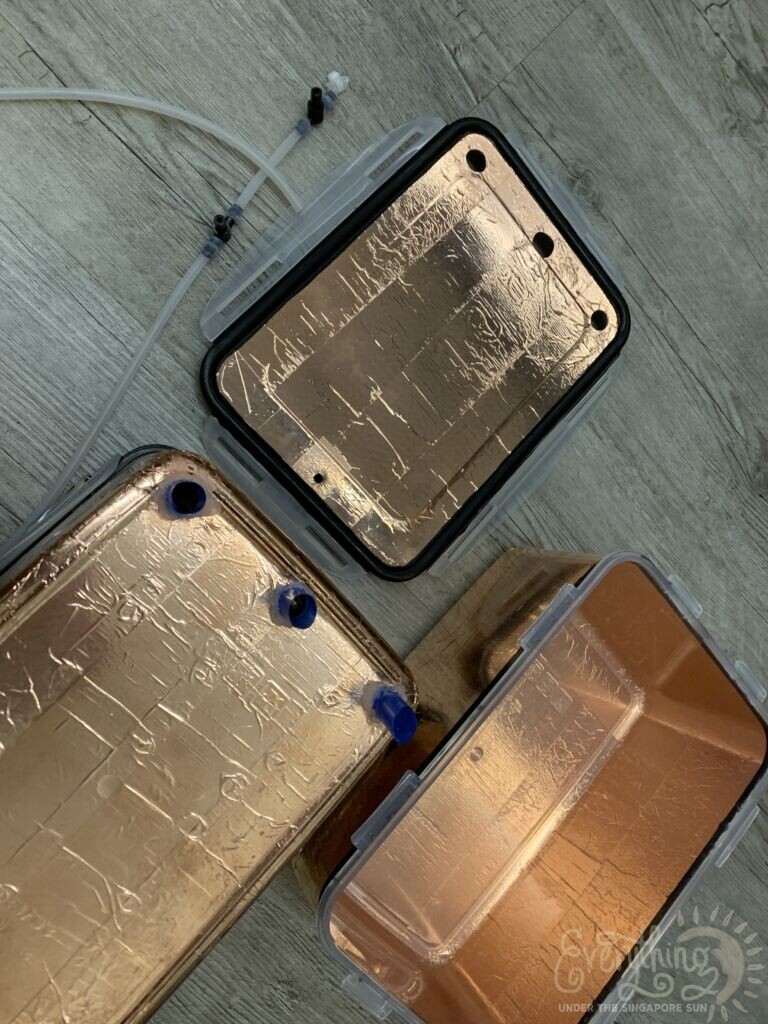
Step 3: Thread a tube through the middle straw and connect it to a sprayer, another short length of tubing and another sprayer and end it off. The. Glue down the sprayers to the inside base of the top container.
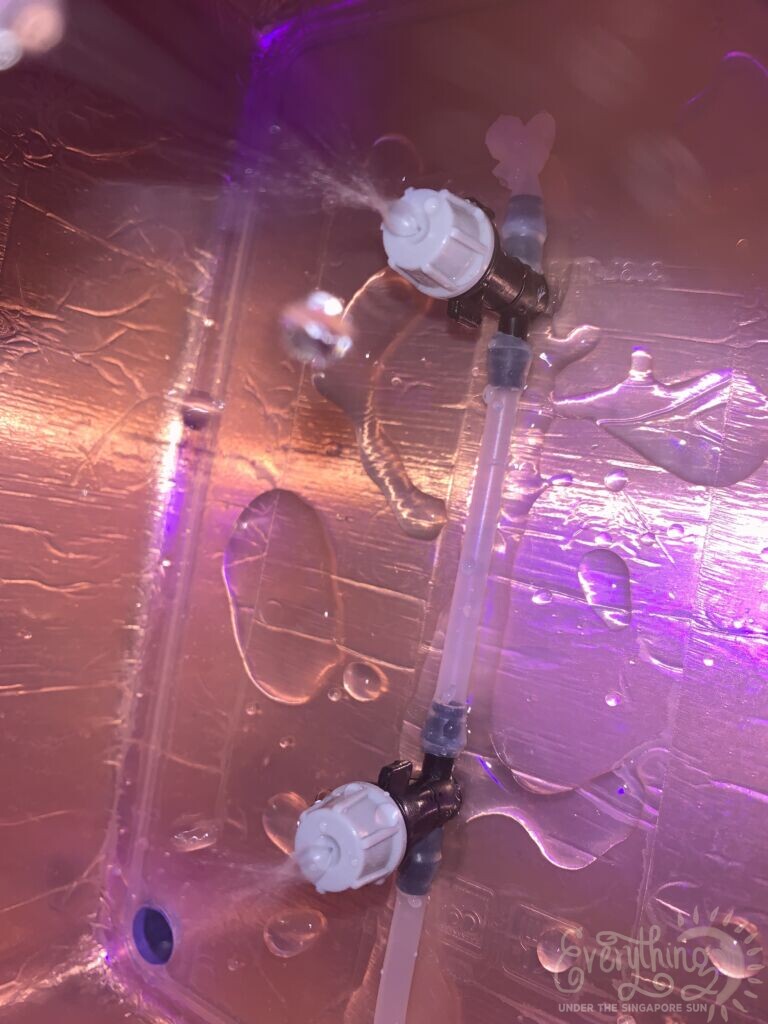
Step 4: Connect the pipe to the pump. The other end of the pump should have a pipe that goes into the water so it will suck it up.
Step 5: Connect the pump to the timer module. Then connect the timer module to a USB connector and plug it in. Refer to the instructions manual on how to program your timer module.
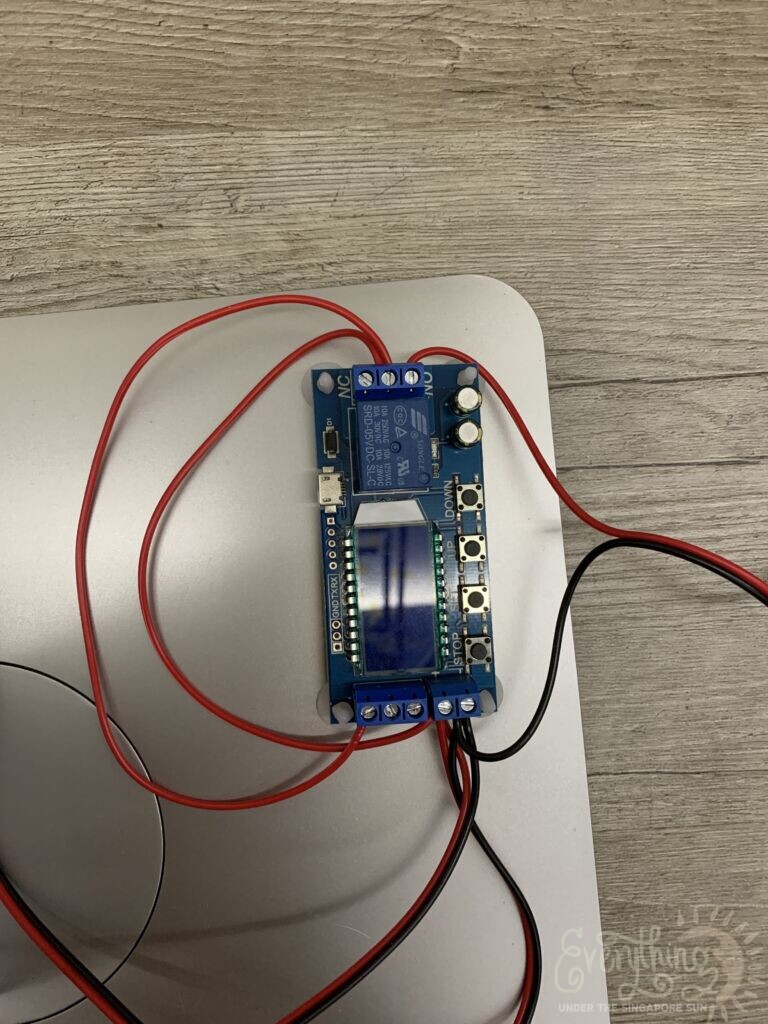
Step 6: The final step is to use your bumpons to raise the side of the containers opposite from the straws so that the water will flow down the straws and recycle back upwards. We are keeping it separate to reduce algae and bacteria growth which is the scourge of any hydroponics and aeroponics setup. Also, when the roots start to grow long, keeping them out of any standing water will prevent root rot.
And just like that, it is done. Pour your mixed nutrient-rich water into the bottom container, stack the boxes and watch it go!
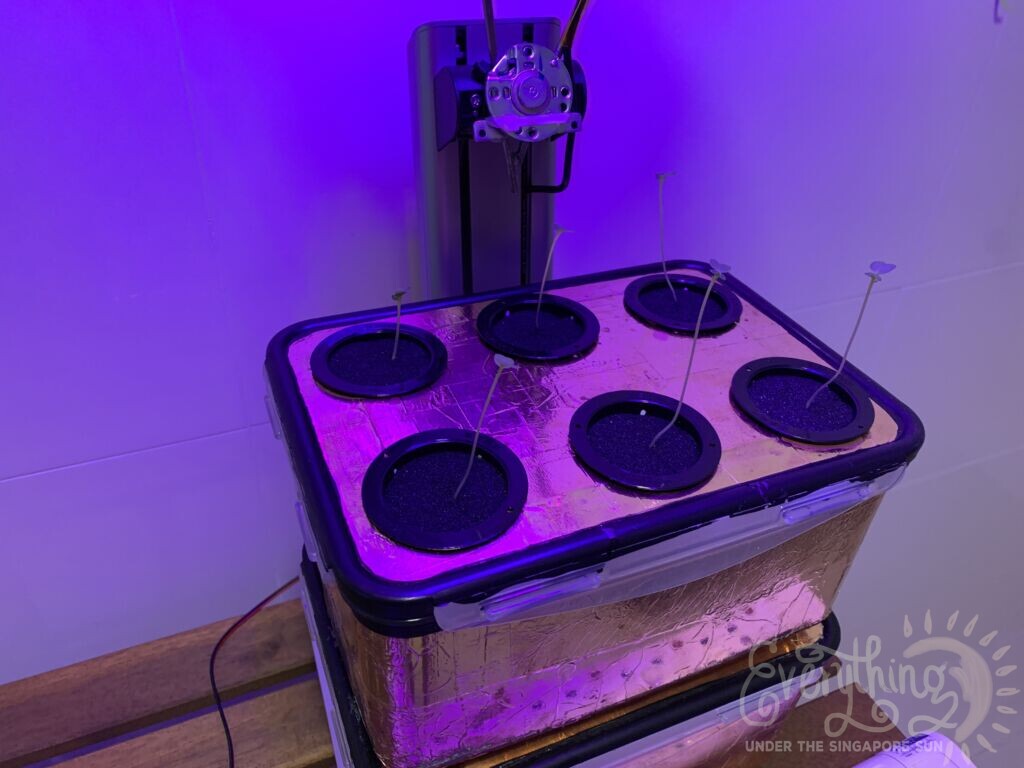
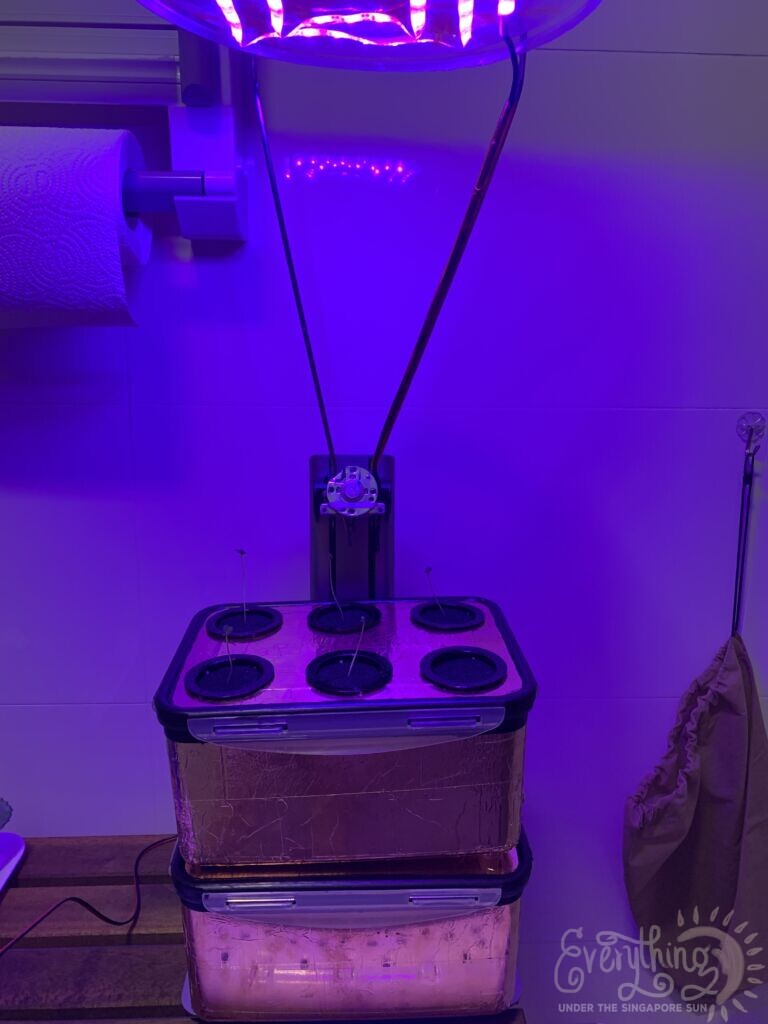
This is my setup with a grow light. The stand is fashioned from an old monitor stand.
Important Things To Know
- Invest in a good pump or even try a submersible one. Don’t save money on this critical component of your aeroponics system because it is very important that the plants don’t dry out! It also helps to have a spare one on hand because pumps are always the first to fail. (I speak from experience because my first cheap pump failed after 3 days.)
- Sprout the seeds first and let them grow a pair of leaves before transporting into the baskets. I simply put the a seed into each of the sponges into a shallow tray of water and it will sprout after 3 days.
- If growing indoors, grow lights are essential. Most leafy vegetables needs lots of light!
- Get the right nutrient solutions for the type of plants you are growing. We have a lot of local sellers selling good nutrient solutions.
- Use only super glue or 2-part epoxy resin for this project, be patient and make sure everything is completely dry and wash everything again when it has dried. We don’t want to poison our food so these are the best type of glues to use.
Good luck! I’m also eager to see how well mine turns out and will update this blog with the progress of our plants. Meanwhile, we find that this setup is so easy to achieve that we are going to build another one.
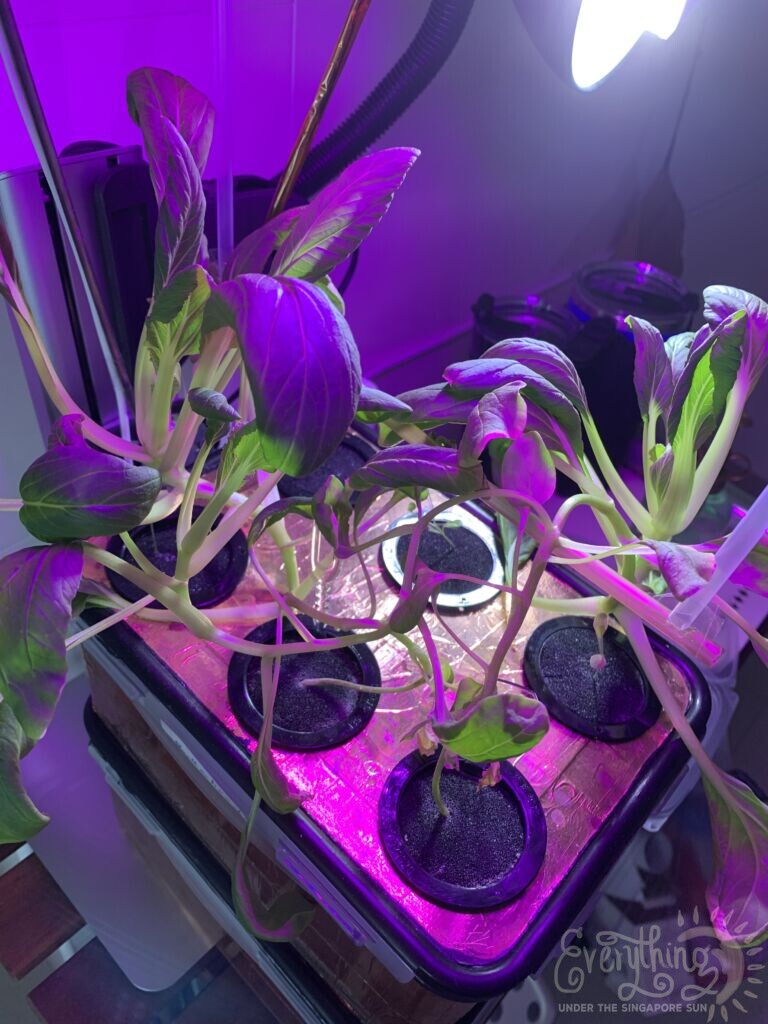
Update Dec 2020: I’m happy to report that my plants are very healthy and ready to eat, albeit a little too “leggy”. I have adjusted my grow lights and added a massive white grow light too so my 2nd batch of vegetables will be less leggy and more sturdy.



Leave a Reply